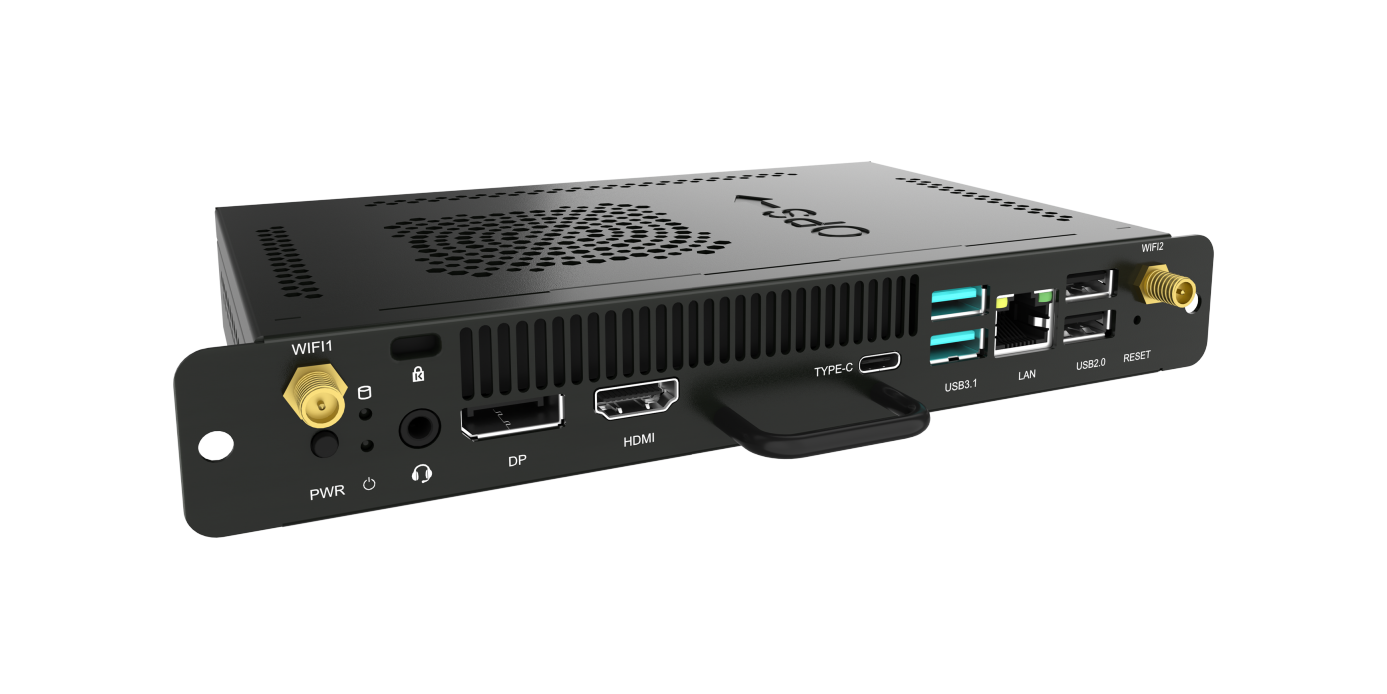
The Open Pluggable Specification (OPS) has revolutionized the digital signage industry by standardizing the integration of compute modules with displays, creating a clean, cable-free solution. The modularity of an OPS module simplifies installation, maintenance, and upgrades, but a methodical approach is essential to ensure a successful and reliable deployment. A proper installation and configuration process guarantees optimal performance and prevents common integration pitfalls.
This tutorial provides a clear, step-by-step guide to the physical installation and initial software configuration of an OPS module. Following these procedures will ensure a seamless setup, allowing you to leverage the full capabilities of your digital display network from the outset.

A Guide to Seamless Integration
This process can be broken down into two distinct phases: physical installation and initial system configuration. Executing each step with precision is key to operational success.
Step 1: Physical Installation
Before beginning, ensure both the display and the OPS module are powered off and disconnected from any power source to prevent electrical damage.
1. Prepare the Display: Locate the OPS slot on the back or side of your commercial display. Remove the protective cover plate, which is typically secured by two thumbscrews.
2. Align and Insert the Module: Carefully align the 80-pin JAE connector on the OPS module with the corresponding receptacle inside the display's slot. Slide the module in gently but firmly until it is fully seated. "The precision of the JAE connector ensures a secure fit, but it is critical to avoid forcing the module, as this can damage the pins."
3. Secure the Module: Once the module is fully inserted, secure it in place using the same thumbscrews that held the cover plate. This ensures a stable physical and electrical connection.
Step 2: Initial Configuration
With the module securely installed, you can now power on the display. The display should automatically detect the OPS module as a video source.
1. Select the Input Source: Using the display's remote control or on-screen menu, switch the input source to "OPS" or "PC". The module will then boot its operating system.
2. Install Drivers and Software: Upon the first boot, install any necessary drivers for the display's specific features, such as touch functionality. Proceed to install your Content Management System (CMS) software and configure network settings to connect the player to your signage network.
3. Verify Operation: Finally, load and play test content to confirm that the video and audio are functioning correctly and that the device is communicating with your CMS.
About JWIPC
As a leading AIoT hardware solution provider, JWIPC is committed to driving innovation in the digital signage industry. Our extensive portfolio includes a range of high-performance OPS modules engineered to meet the stringent requirements of diverse applications. Through advanced R&D and precision manufacturing, we deliver cutting-edge solutions that empower our clients worldwide.
Streamline Your Digital Signage Deployment
Ready to experience the simplicity and power of a modular signage solution? Contact JWIPC today for expert support and to explore our industry-leading range of OPS modules designed for seamless integration and superior performance.


